Tools
How to Panel Line Gunpla: Markers, Washes and Cleanup
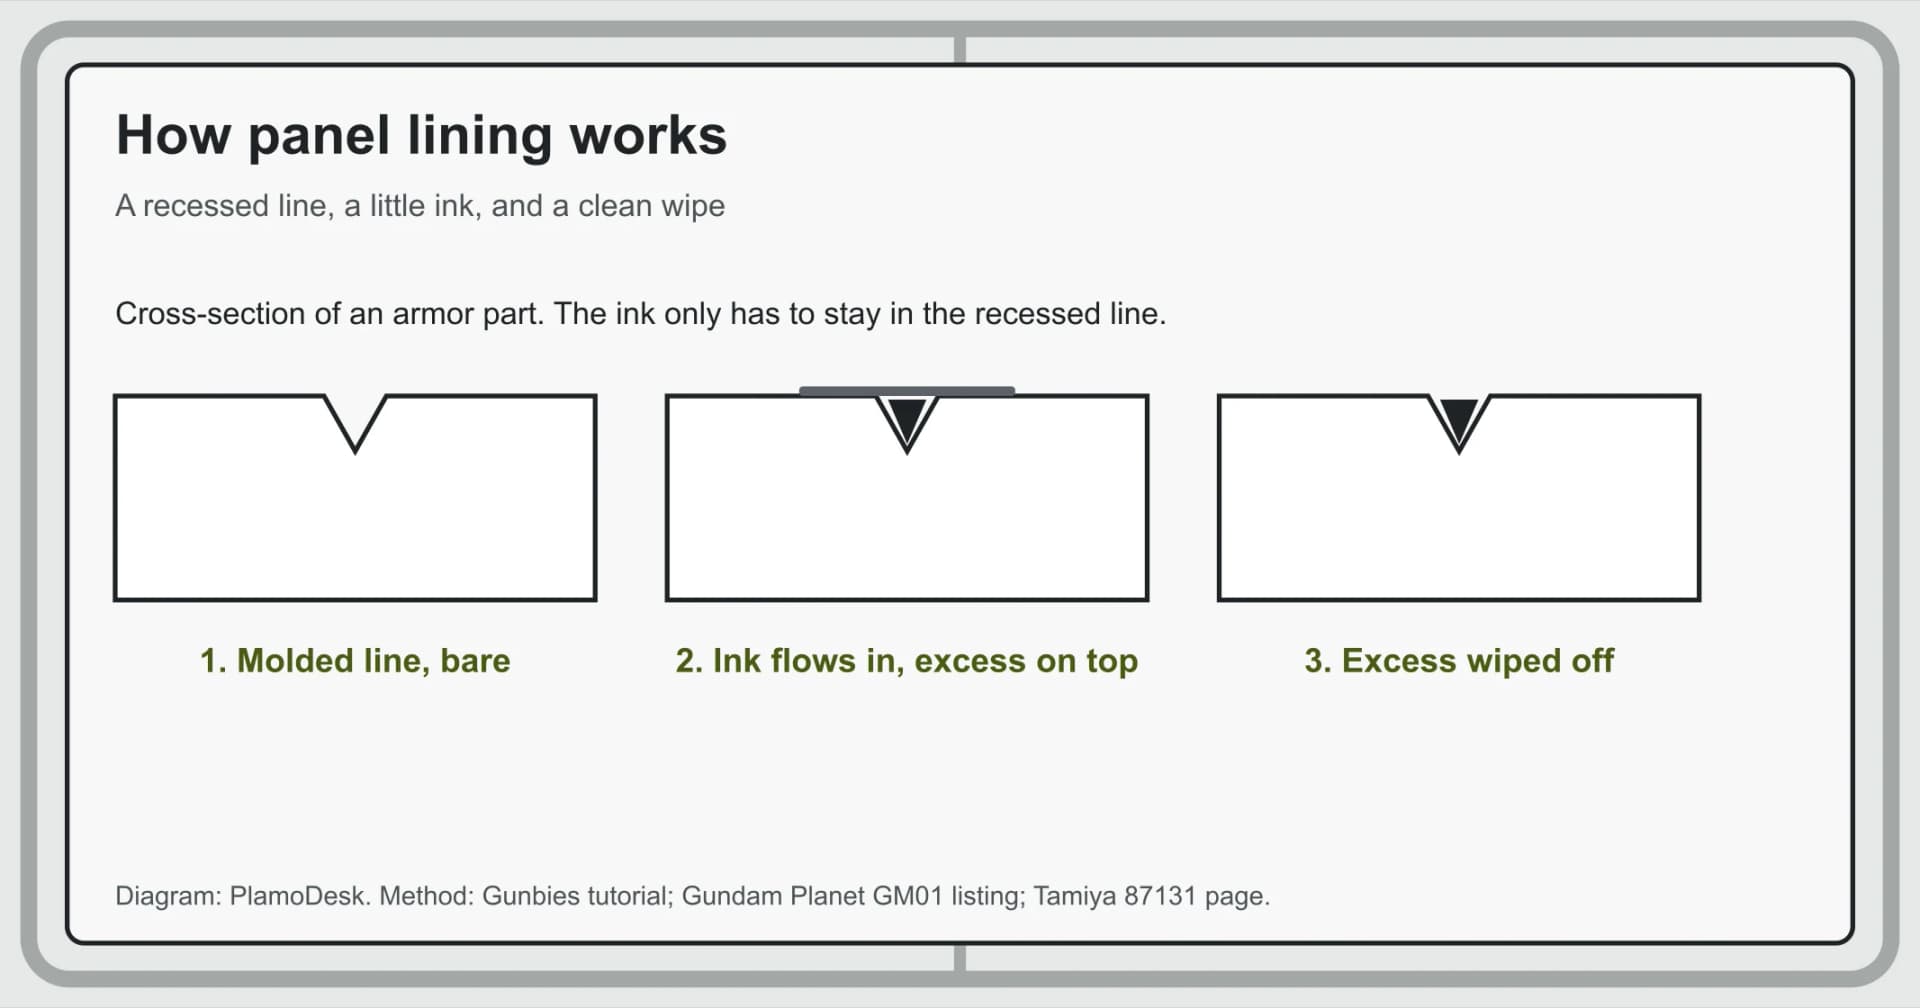
How to panel line Gunpla is mostly a question of which tool you pick, because the steps barely change. You put dark ink into the molded lines on each part, then wipe away whatever lands outside them. This guide covers the two common routes, a fine-tip marker and an enamel wash, with the makers' own instructions and US prices we checked on October 11, 2026.
TL;DR: Start with a $3.50 Gundam Marker GM01 and a rubber eraser: draw in the line, then rub across it to clean up. Move to Tamiya's Panel Line Accent Color ($7 for black at Gundam Planet), an enamel wash with a brush in the cap, once you paint or gloss-coat your kits, and clean it up with X-20 thinner. Do not flood bare plastic with enamel, and let lines dry before top coat.
Key Takeaways
- Marker route: GM01 fine line marker, $3.50 at Gundam Planet; clean up with an eraser, paper towel or finger.
- Wash route: Tamiya Panel Line Accent Color, 40cc of enamel paint, $7 at Gundam Planet; clean up with X-20 enamel thinner.
- Order matters: Tamiya says never apply lacquer over enamel paint.
- Bare plastic: too much enamel can make Gunpla plastic brittle and crack, a tutorial warns.
- Finish: panel line first, then top coat once the lines are dry.
How to panel line Gunpla: the quick answer
Draw a fine-tip panel-line marker along each recessed line, then rub off the excess. Gundam Planet's GM01 listing puts it in one sentence: "Just draw in the panel lines with this marker and wipe away the excess ink with a rubber eraser, paper towel, or even your finger!" That is the whole technique for a first kit.
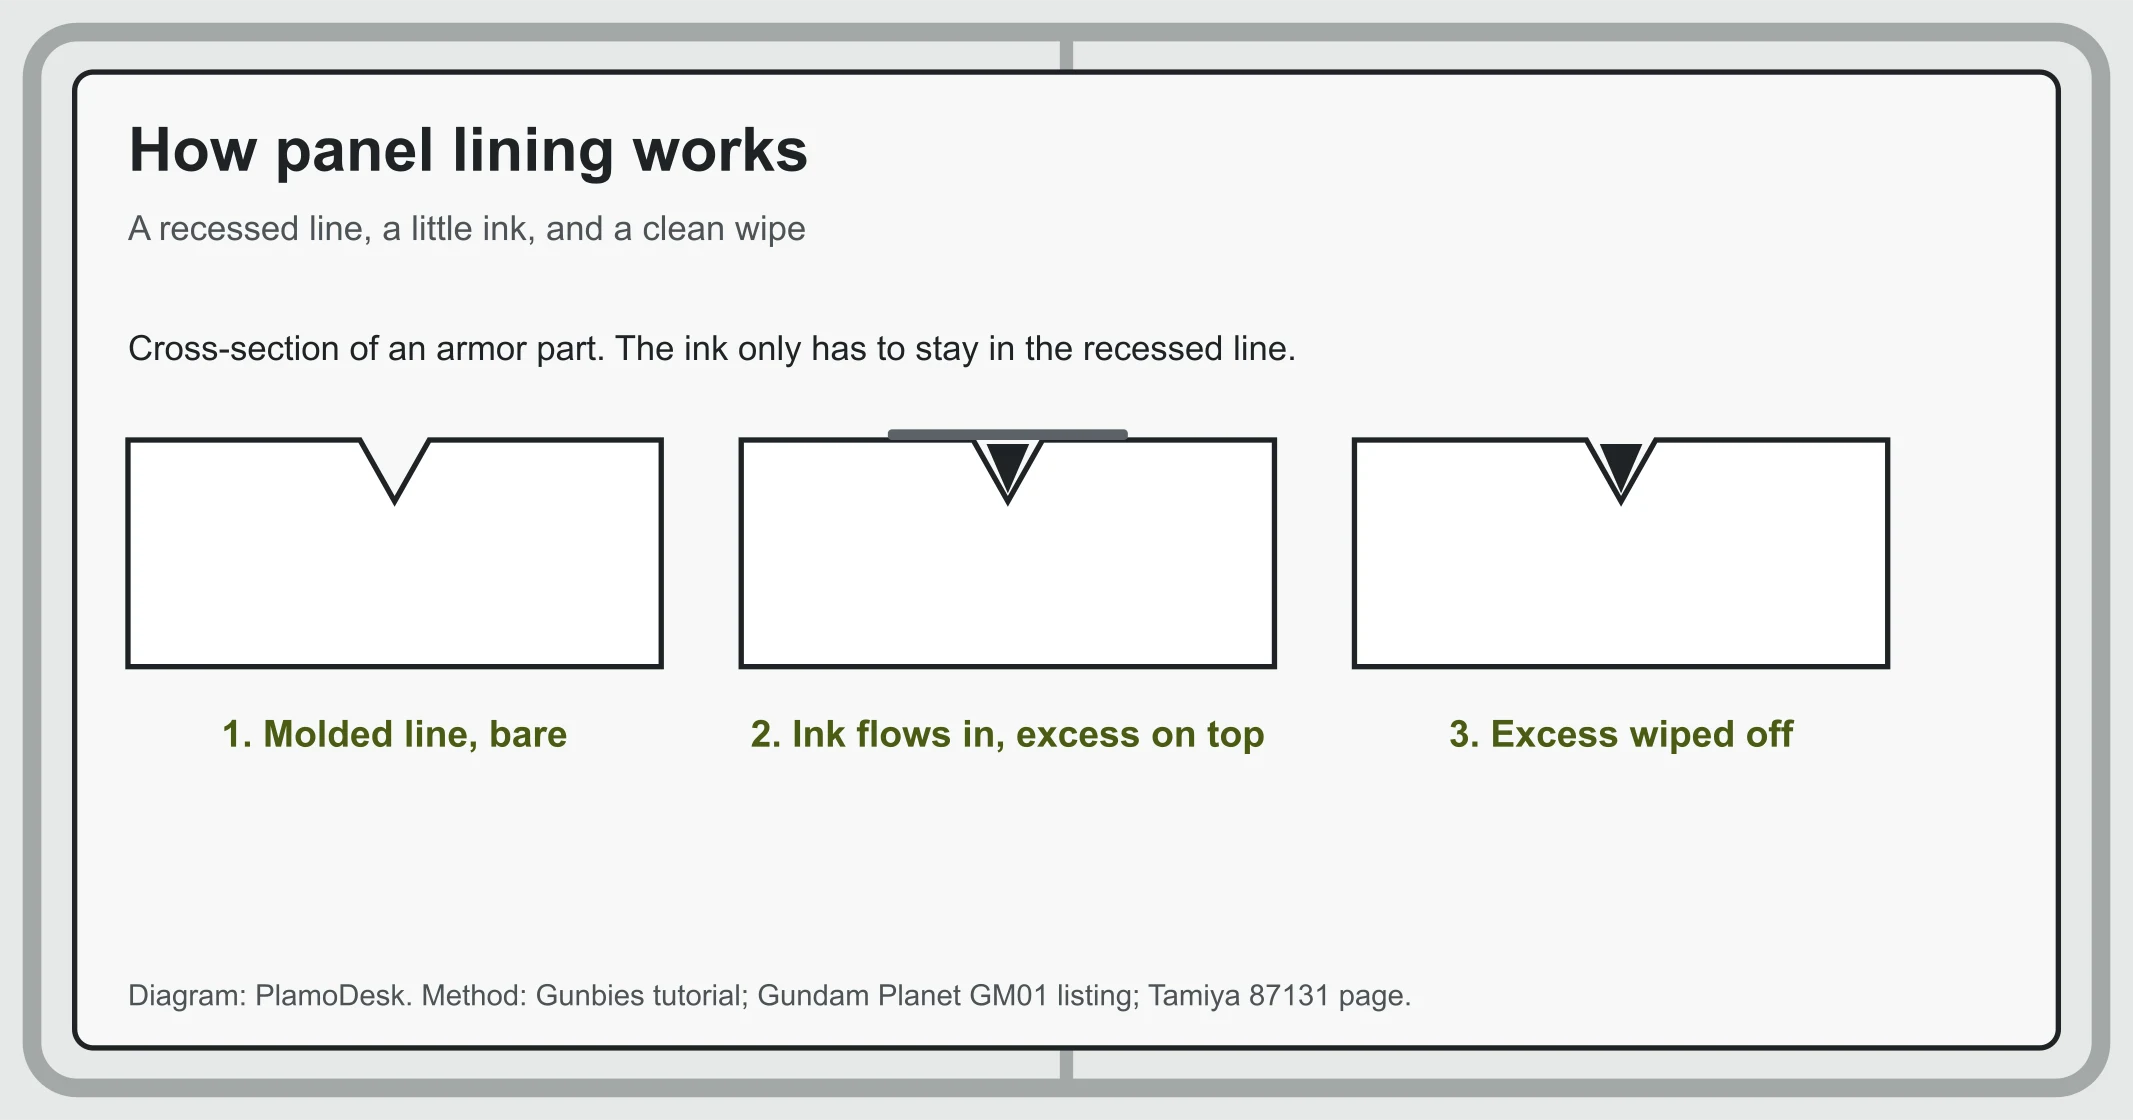 Diagram: PlamoDesk. Method from the Gunbies tutorial, the Gundam Planet GM01 listing and Tamiya's Panel Line Accent Color page.
Overview: markers vs enamel washes
Gunpla parts come with recessed lines molded into the armor. Bandai's RG RX-78-2 Ver.2.0 page, for example, says its panel lines are "divided into functional blocks". Panel lining darkens those lines so the detail reads from a distance.
There are two tool families.
Markers. GSI Creos lists Gundam Marker product numbers GM01-03 and GM301-303 on its official site. Gundam Planet sells the GM01 as a black fine line marker, and Newtype lists the GM301P as a pour type. Newtype listed the Gundam Marker Pour Type Black (GM301P) at $3.75, out of stock, on October 11, 2026.
Enamel washes. Tamiya's Panel Line Accent Color "is ideal for highlighting panel lines and other details to give your model a more realistic depth." Tamiya adds: "Use on Tamiya Color lacquer or acrylic paints. One bottle contains 40cc enamel paint. The bottle's cap features a brush for easy application." It also comes in brown (item 87132).
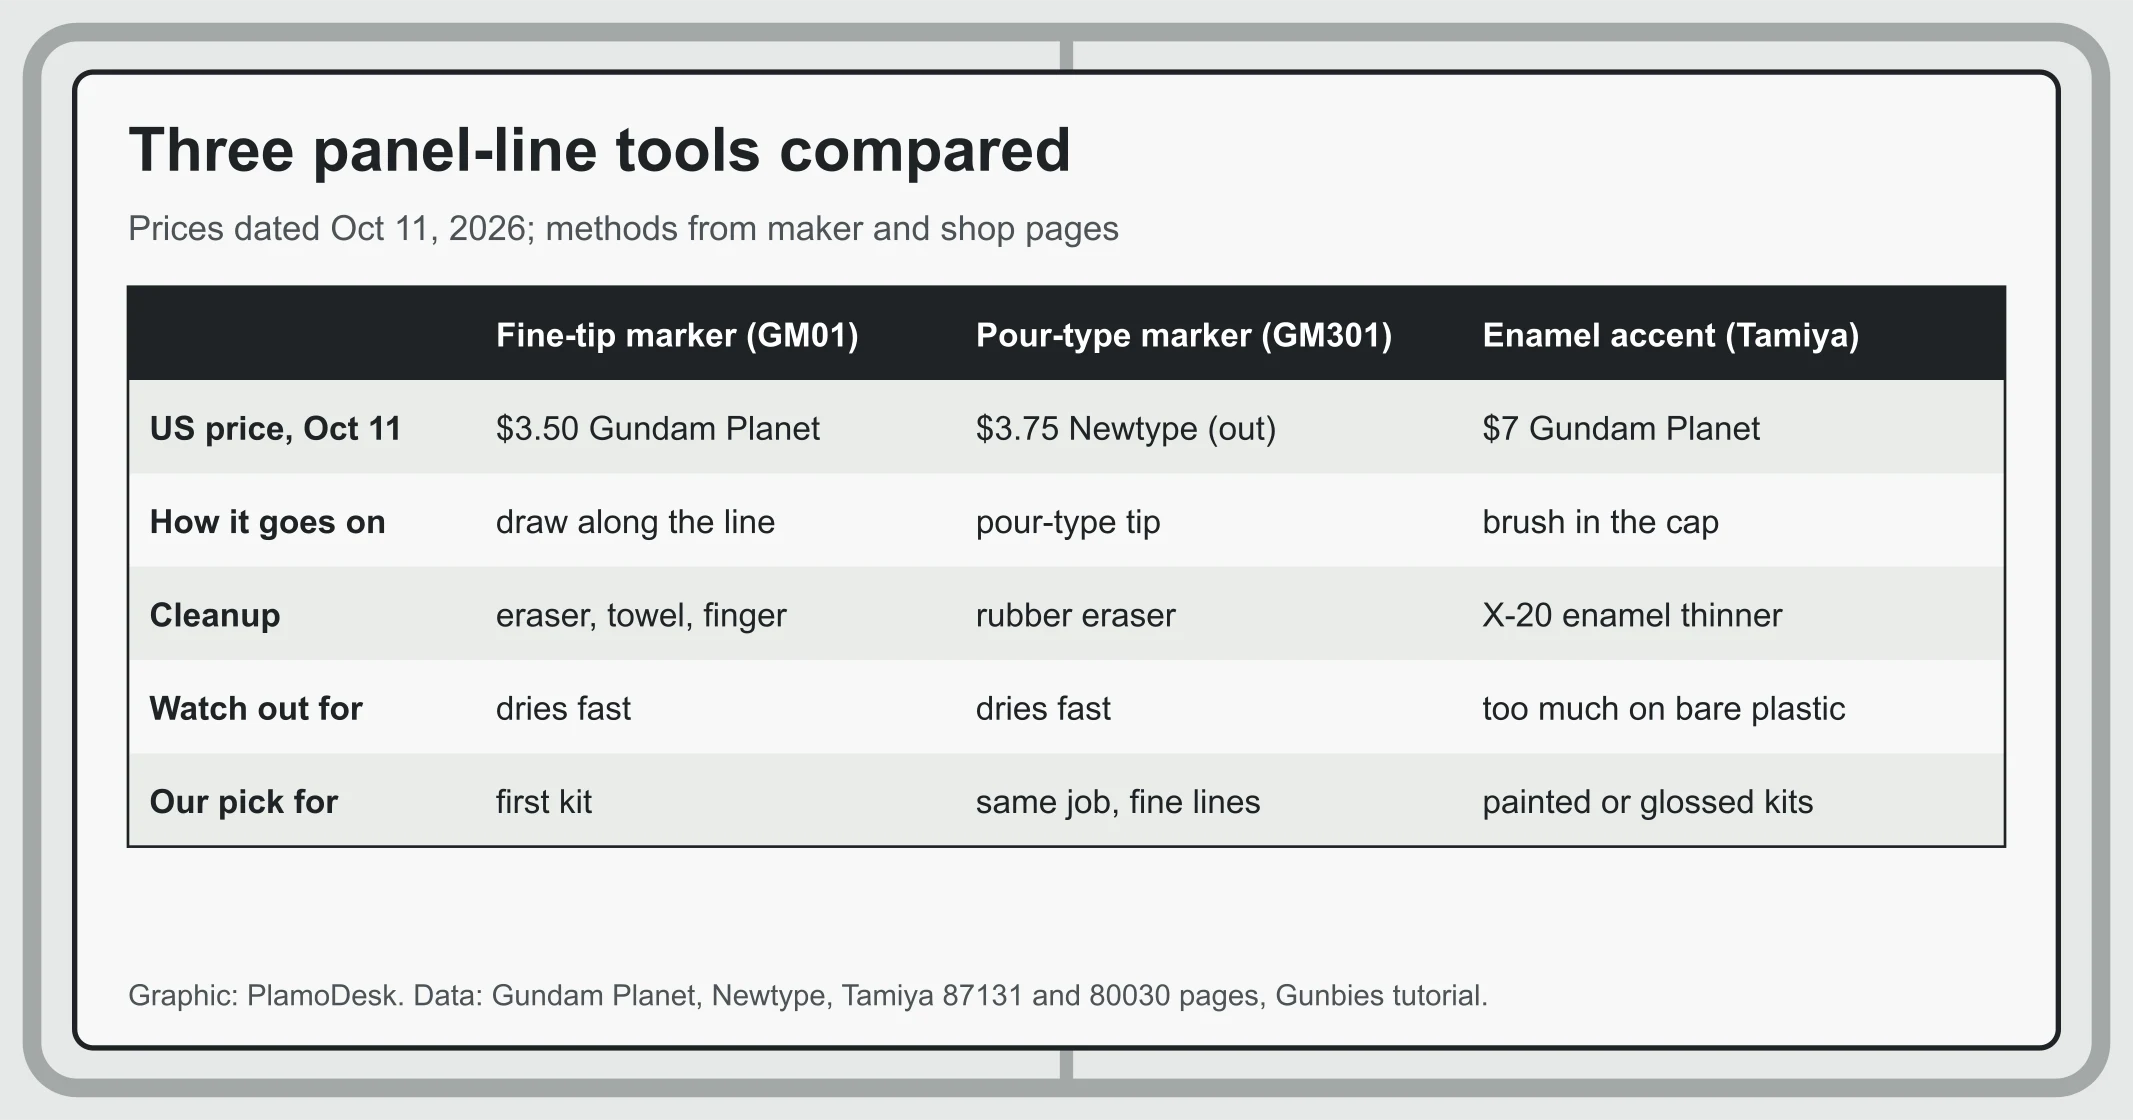 Graphic: PlamoDesk. Data: Gundam Planet, Newtype, Tamiya 87131 and 80030 pages, Gunbies tutorial, checked October 11, 2026.
If you are still putting a toolkit together, our Gunpla tools for beginners guide lists the nipper and markers to buy first.
What you need
- A panel-line marker: GM01 ($3.50 at Gundam Planet) or the Fine Point Mr. Hobby Marker for Panel Lines ($6 there).
- A rubber eraser for marker cleanup, as the Gunbies tutorial uses.
- Optional wash: Tamiya Panel Line Accent Color (Black), $7 at Gundam Planet. The listing says "Tamiya has finally made their amazing enamel panel line accent available in the US."
- For the wash: Tamiya X-20 Enamel Thinner, which Tamiya describes as "Dedicated thinner for use with Tamiya Color Enamel paints: thinning and cleaning," and cotton swabs. Tamiya lists its Craft Cotton Swabs (round, extra small and small) as related products on the accent color page.
Step-by-Step: panel lining a kit
These steps follow the Gunbies panel-lining tutorial, a fan guide from November 2014, checked against the makers' and shops' own instructions.
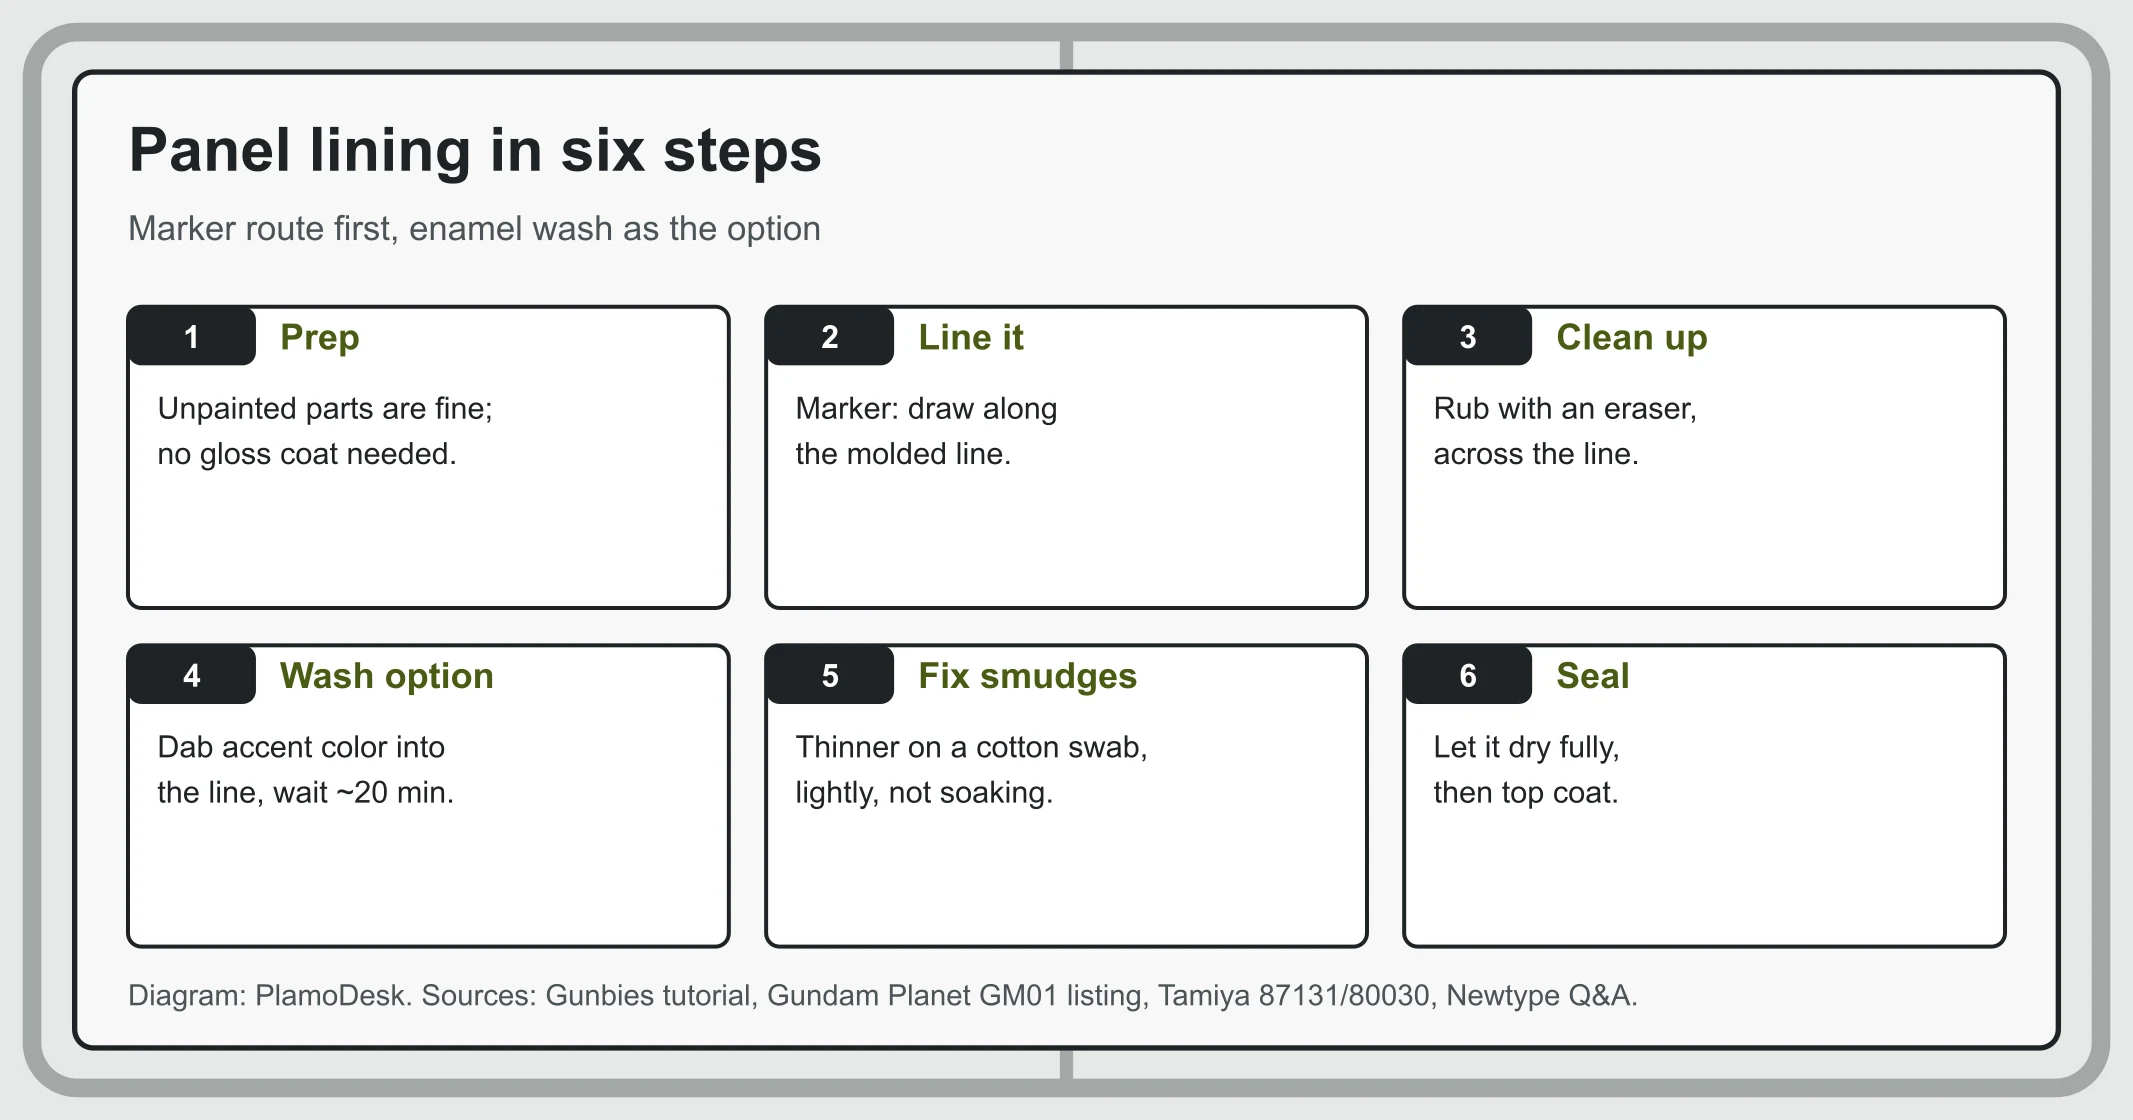 Diagram: PlamoDesk. Sources: Gunbies tutorial, Gundam Planet GM01 listing, Tamiya 87131 and 80030, Newtype Q&A.
1. Decide whether you need a gloss coat. On an unpainted kit, you do not. A reply on the Gunbies tutorial says: "You only need gloss coat if you painted your kit. For non-painted ones, you don't need to apply gloss coat."
2. Draw the line with the marker. Gunbies lists the materials as "the marker of your choice and a rubber eraser". Run the tip along the recessed line.
3. Erase across the line. Gunbies: "Rub the panel line using your rubber eraser perpendicular to the line being cleaned."
4. For a wash, dab it into the line. With Tamiya's accent color, Gunbies says to "dab it to the panel lining" and to "remove excess ink from the applicator by just skidding it by the bottle's opening." Then wait. A Gunbies reply suggests "maybe 20 minutes or so? the longer the better" before cleaning.
5. Clean wash smudges lightly. Gunbies: "Just dab the cotton swab with the enamel paint thinner lightly on the excess ink." Lightly is the key word; see the warning below.
6. Let it dry, then top coat. Gunbies: "If you haven't painted your kit, you can do panel lining first before top coat." On Newtype's Mr. Premium Topcoat Flat page, an answer in the Q&A adds: "As long as your panel lines are dry, this should not make them bleed or run."
GODEEPER: Picking your first kit to practice on? Best beginner Gunpla kits by budget →
Do not mix the wrong layers
Panel-line products are paints, and paints have an order. Get it wrong and one layer dissolves another.
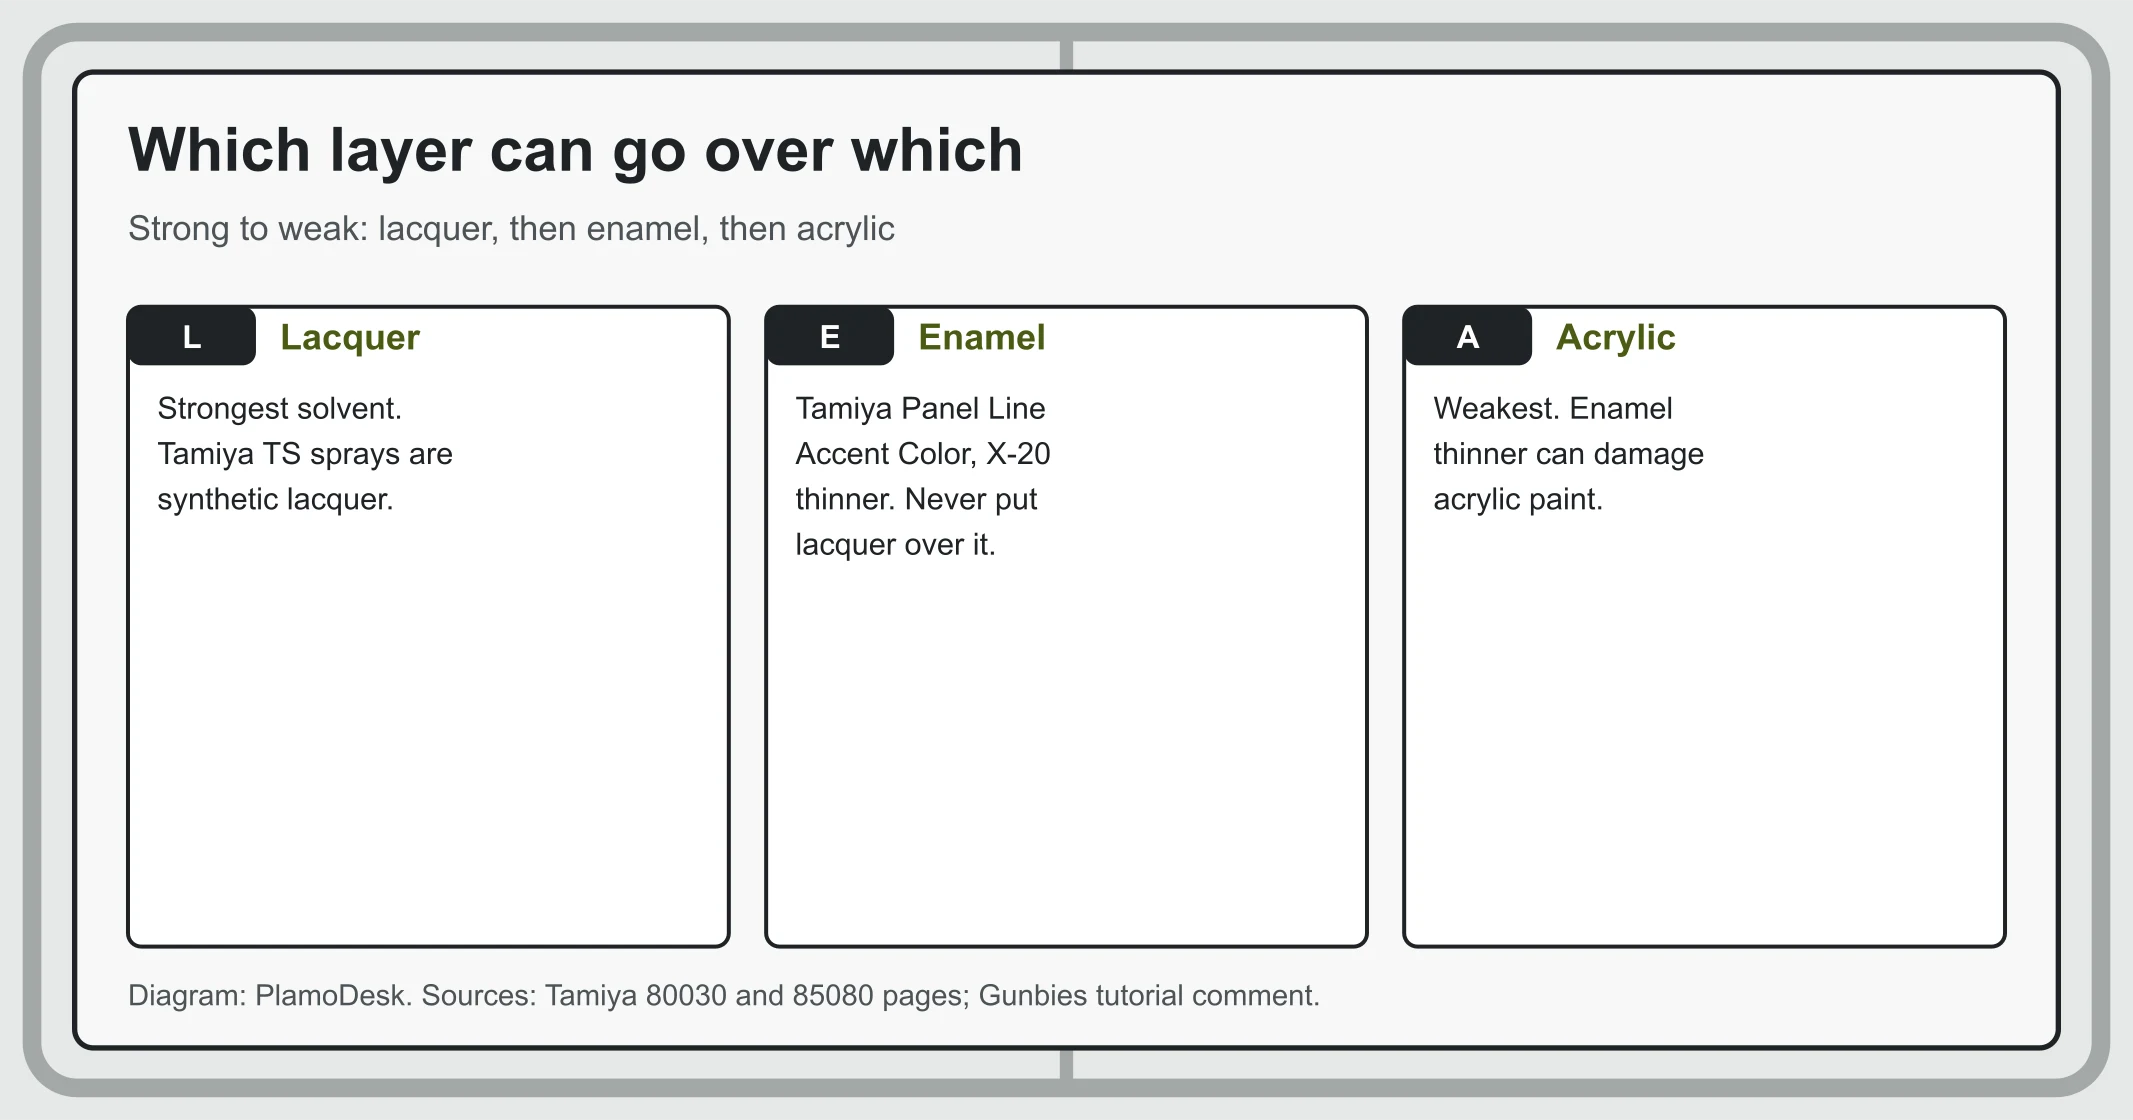 Diagram: PlamoDesk. Sources: Tamiya X-20 and TS-80 pages; Gunbies tutorial comment.
- Never lacquer over enamel. Tamiya's X-20 page says it plainly: "Never apply lacquer over enamel paints."
- Enamel thinner can lift acrylic. A Gunbies reply gives the order as "lacquer -> enamel -> acrylic, which means enamel thinner will damage acrylic paint".
- Lacquer sprays resist both. Tamiya says its lacquer sprays "are not affected by acrylic or enamel paints", which is why a lacquer gloss coat goes under an enamel wash on painted kits.
- Gloss under the wash. For painted kits, the Gunbies author suggests you "coat with clear gloss lacquer before using Tamiya Panel Line accent, since it is enamel based". On Newtype's Mr. Premium Topcoat Gloss page, a Q&A answer by ZeonicTitan (April 9, 2026) agrees that "It's better to use a lacquer-based gloss so it doesn't run as easily when fully cured."
Tips: cleaner lines and fewer cracked parts
- Go easy with enamel on bare plastic. Gunbies warns that "too much enamel paint on the Gunpla's plastic material can make it brittle and crack." Use a little wash and a lightly damp swab, never a soak.
- Match the color to the part. A Gunbies reply calls it a matter of taste, adding that sometimes "the gray one looks better on colored parts, while the black one is best on white parts".
- Clean up Gundam Marker ink while it is wet. The same author notes Gundam Markers "dry faster and are harder to erase when dry."
- Slow-drying pens forgive mistakes. Gunbies notes "COPIC Multiliners are not quick to dry, so it's easy to clean mistakes."
- Use small swabs. Tamiya lists extra-small and small round Craft Cotton Swabs as related products of its accent color.
What the tutorial author says
Reddit showed us a login wall on October 11, 2026. These quotes are replies by the author of the Gunbies tutorial in its comment thread, read on the page that day.
- On cleaning up enamel smudges: "The problem is x-20 thinner is very strong."
- On markers vs slower pens: "Gundam Markers dry faster and are harder to erase when dry."
Both replies point the same way: clean up while the ink or wash is still fresh, and go easy with thinner.
Our take
For a first kit, buy the $3.50 GM01 and use the eraser you already own; the method is two moves, draw and rub across. Add Tamiya's $7 enamel accent color only when you start painting or gloss-coating, because the tutorial warns about enamel on bare plastic and Tamiya warns about layer order. Whatever you use, let the lines dry before any top coat; our Gunpla top coat guide covers that step.
How we checked this
On October 11, 2026 we read Tamiya's official pages for the Panel Line Accent Color (black and brown), X-20 Enamel Thinner and its TS lacquer sprays, the GSI Creos product list for Gundam Markers, and US listings at Gundam Planet and Newtype. Steps and cautions come from the Gunbies tutorial (2014) and its comment replies, labeled as such, plus Q&A answers on Newtype product pages. Bandai's English tips pages had no panel-lining instructions we could read. We did not test these products ourselves.
Frequently Asked Questions
What is the easiest way to panel line Gunpla? A fine-tip panel-line marker. Gundam Planet's listing for the GM01 black fine line marker says to draw in the panel lines and wipe away the excess ink with a rubber eraser, paper towel or finger. It was $3.50 on October 11, 2026. A Mr. Hobby fine-point panel-line marker was $6 on the same site.
Should I use a Gundam Marker or Tamiya Panel Line Accent Color? Start with a marker. Tamiya's accent color is enamel paint with a brush in the cap, and Tamiya says to use it on its lacquer or acrylic paints. A 2014 Gunbies tutorial warns that too much enamel on bare Gunpla plastic can make it brittle and crack, so the wash suits painted or gloss-coated kits.
How do I fix panel line mistakes? For marker ink, rub with a rubber eraser across the line, as the Gunbies tutorial shows. For Tamiya's enamel accent color, use Tamiya X-20 enamel thinner, which Tamiya sells for thinning and cleaning, on a cotton swab. Gunbies says to dab the swab lightly on the excess.
Do I need a gloss coat before panel lining? Not on an unpainted kit. A reply on the Gunbies tutorial says you only need a gloss coat if you painted your kit, and that unpainted parts can be panel lined before top coat. For painted kits, the same author suggests a clear gloss lacquer before using Tamiya's enamel accent color.
Should I panel line before or after top coat? Before, on an unpainted kit. A Gunbies reply says unpainted kits can be panel lined first, then top coated. On Newtype's page for Mr. Premium Topcoat Flat, an answer in the Q&A says dry panel lines should not bleed or run under it. Let marker or wash dry fully before you spray.
What color panel liner should I use? Black is the usual pick, but it depends on taste. A reply on the Gunbies tutorial says the gray accent color sometimes looks better on colored parts, while black is best on white parts. Tamiya's site lists its Panel Line Accent Color in black (87131) and brown (87132); each bottle holds 40cc of enamel paint.
Related Reading
- Gunpla Grades Explained: every grade from EG to PG, if you are choosing a kit to practice on.
- HG vs RG vs MG: one RX-78-2 in three grades, including how Bandai designs its panel lines.
- How to Spot Bootleg Gunpla: what to check before you buy a cheap kit to practice on.
References
- Tamiya: Panel Line Accent Color (Black), item 87131, Brown, item 87132 and X-20 Enamel Thinner, item 80030
- GSI Creos Mr. Hobby: G.Marker GM301-303
- Gunbies: Gunpla Panel Lining Tutorial (November 2014, with comment replies)
- Gundam Planet listings: GM01 marker, Panel Line Accent Color (Black), Mr. Hobby fine-point marker
- Newtype: Gundam Marker Pour Type Black, Mr. Premium Topcoat Flat and Gloss Q&A
Was this guide helpful?
About the author

Editorial desk
The PlamoDesk desk. We read Bandai's schedule and every item page, in English and Japanese, keep our own kit archive and check US shop prices on a stated day. We don't review kits we haven't built.
Keep reading
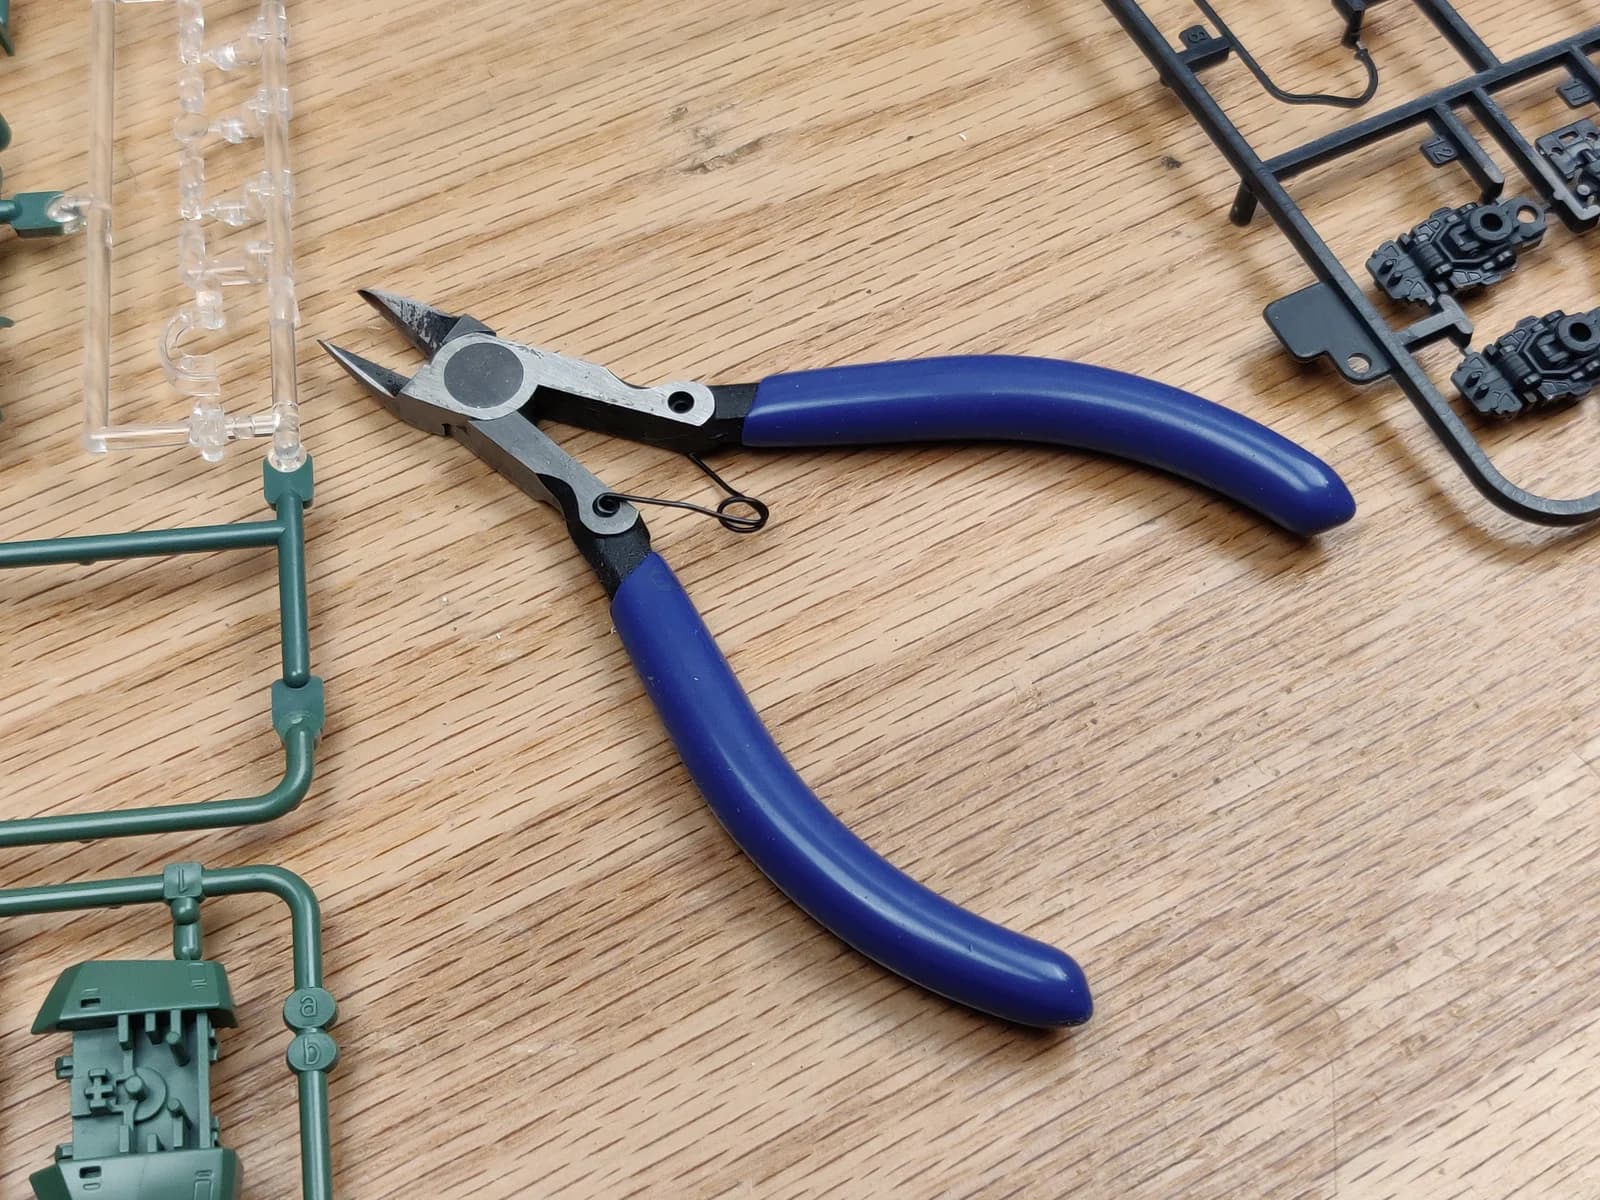
Gunpla Tools for Beginners: What to Buy First (2026)
Tools · 9 min
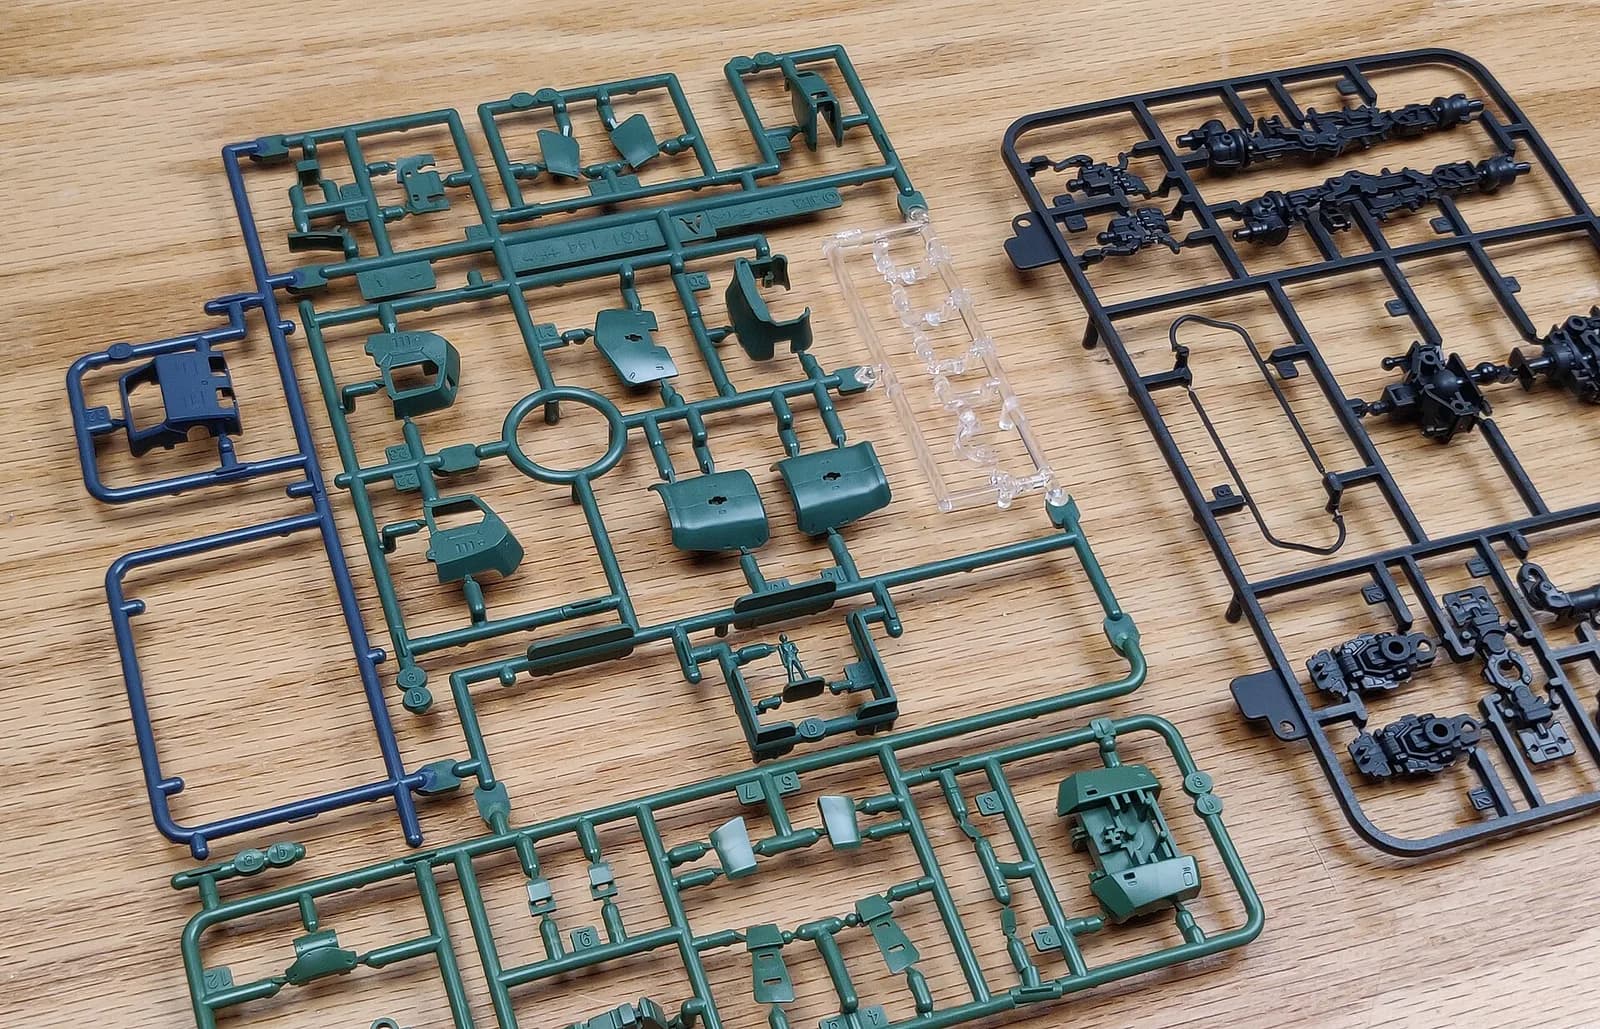
Best Beginner Gunpla Kits by Budget: Under $20, $40, $70
Beginner Guides · 9 min
Gunpla Grades Explained: HG, RG, MG, PG and More (2026)
Beginner Guides · 14 min
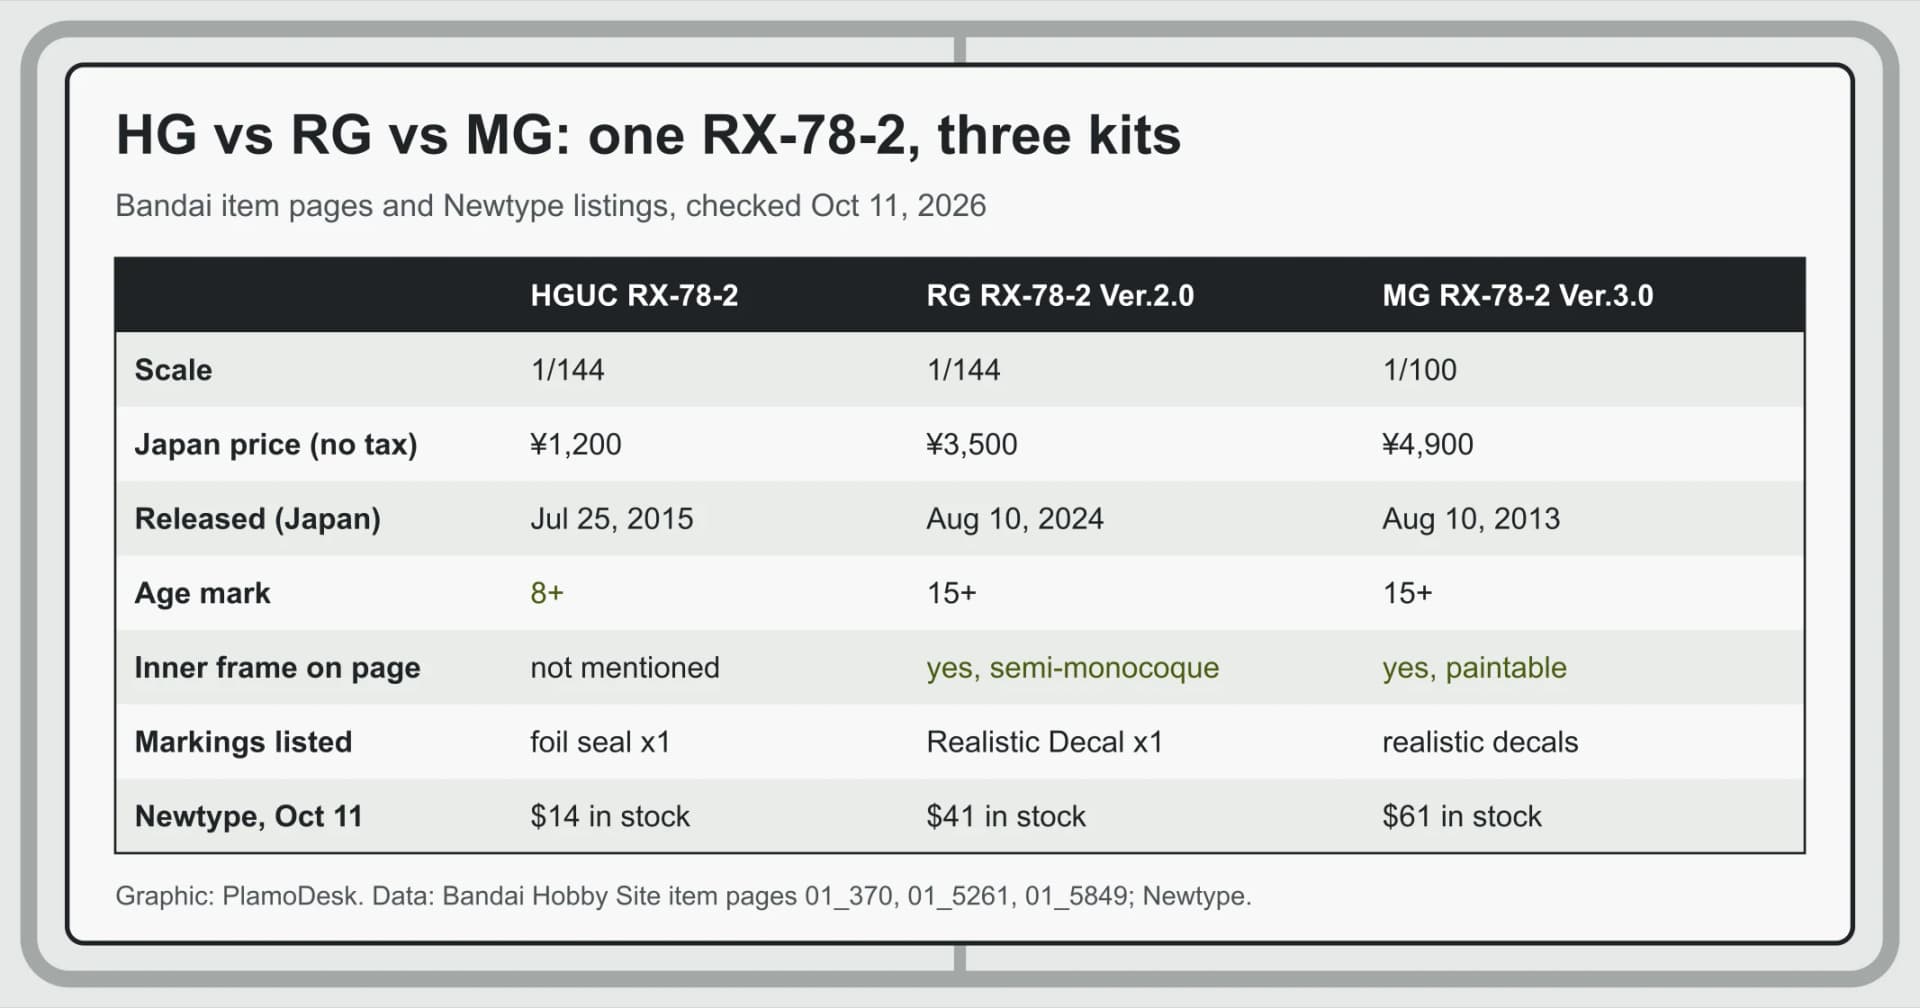
HG vs RG vs MG: One RX-78-2 Gundam in Three Grades (2026)
Kit Reviews · 9 min
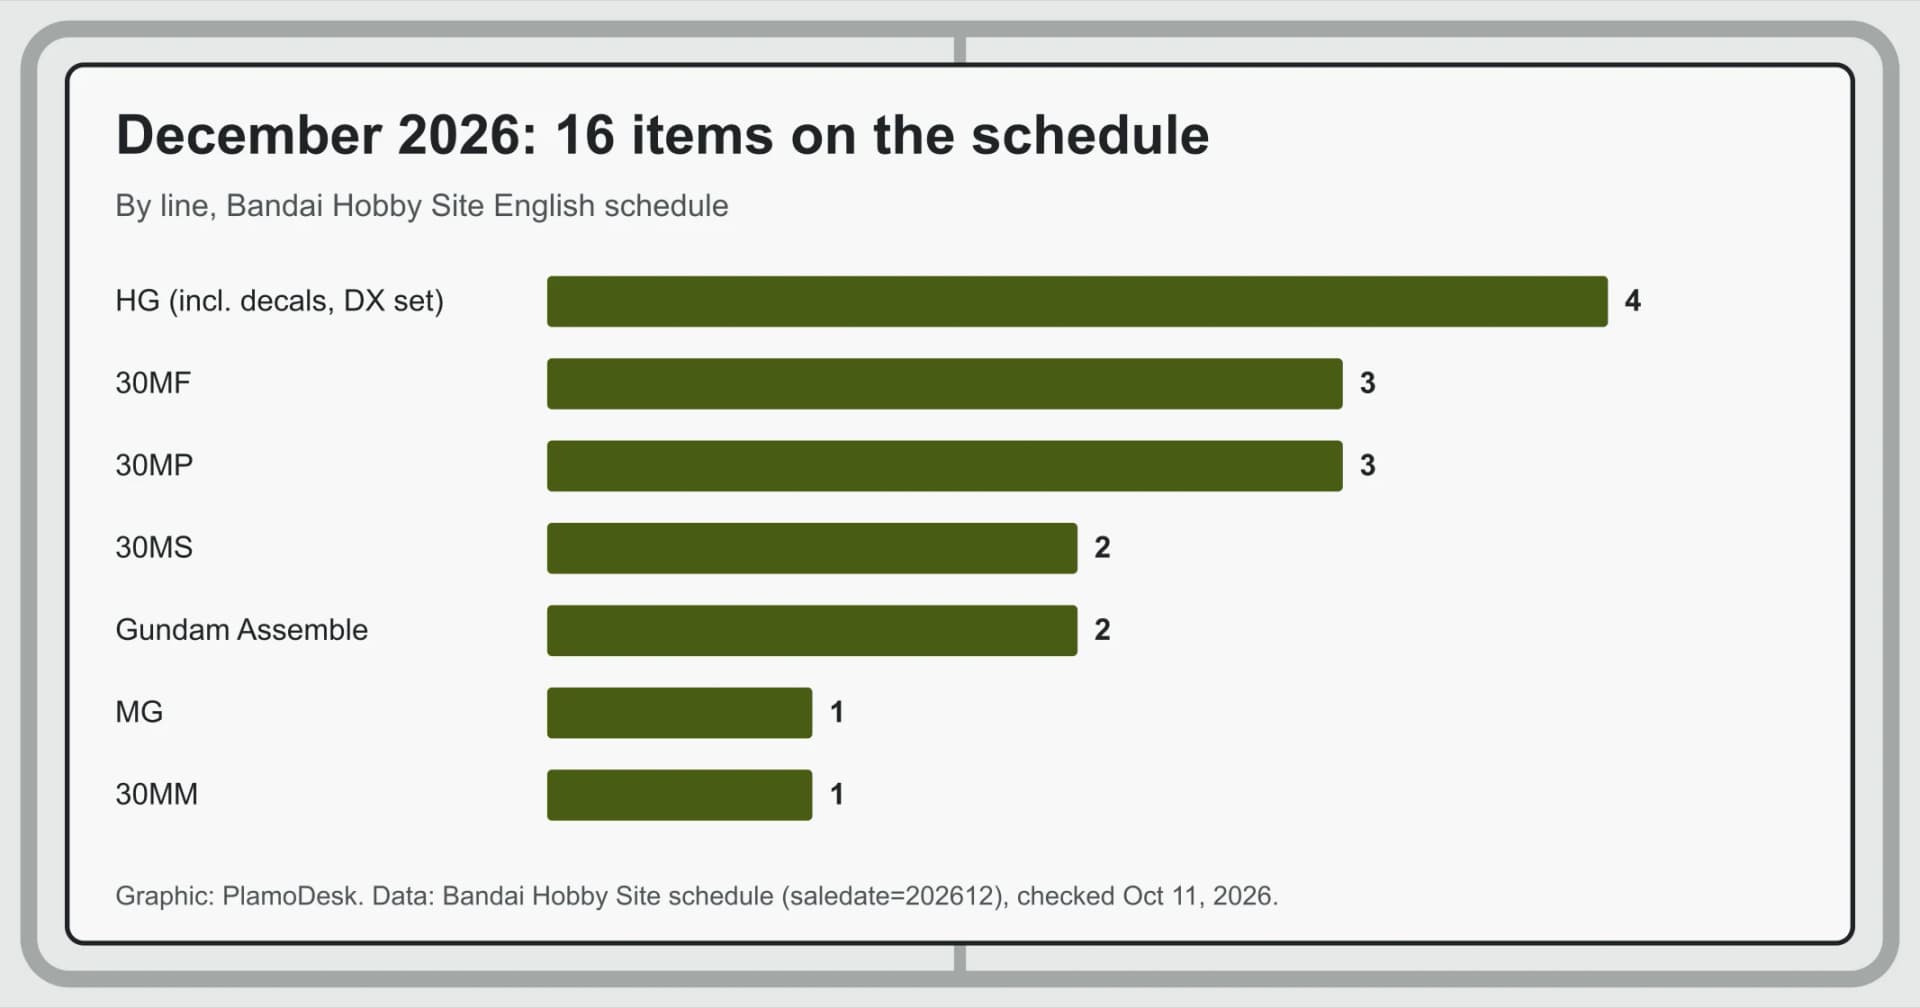
Gunpla Releasing in December 2026: Bandai's 16-Item List
Release Calendar · 8 min
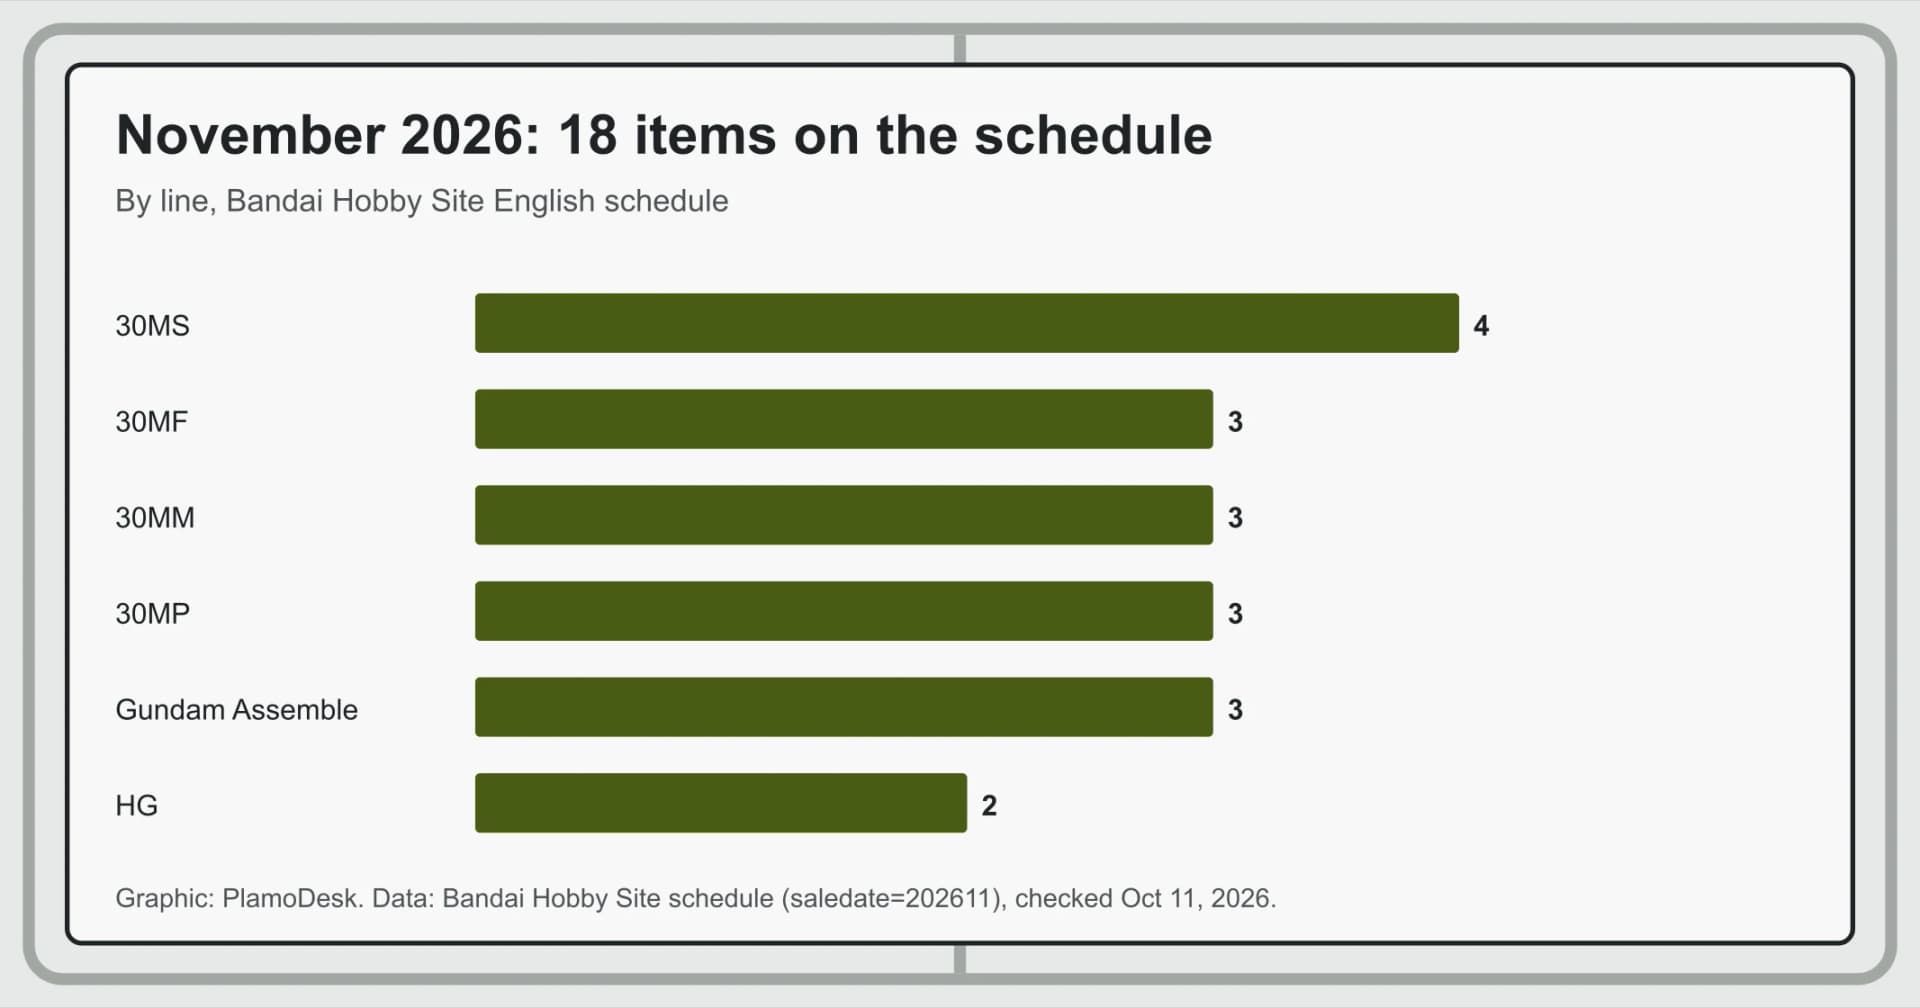
New Gunpla Releasing in November 2026: Bandai's 18-Item List
Release Calendar · 9 min
Gunpla Release Schedule 2026: How to Read Bandai's Calendar
Release Calendar · 14 min
How to Spot Bootleg Gunpla Before You Pay (2026 Guide)
Buying Guides · 9 min
Disclaimer
Release months and yen prices come from the Bandai Hobby Site: they are Japanese release months and Japanese prices before tax, as listed on the day we checked. US prices are snapshots from named shops on a stated day, and they change. Check the shop's own page before you buy.
PlamoDesk is an independent fan resource, not affiliated with BANDAI SPIRITS or any shop we mention. The site carries no ads, no affiliate links and no sponsored content (see Independence).